The Johnson solids are strictly convex polyhedra with regular polyhedra as faces – that is polygons with sides and angles that are all the same. Near-miss Johnson solids however are strictly convex polyhedra that almost have regular polyhedra as faces, but not quite. There are actually a lot of interesting polyhedra that meet this definition. And since they are almost regular you can try making them using same sized beads and let the beadwork distort slightly to make up for the slight differences needed.
Here are a few of them made with illusion cord and 4 mm beads using “polyhedral angle weave” (which is just regular angle weave used to make the various polygons that make up a polyhedron).

The first one is a truncated triakis tetrahedron, which has 12 pentagon and 4 hexagon faces:

This was easy to make and only needs 42 beads. It’s fairly small and makes a nice little beaded bead!
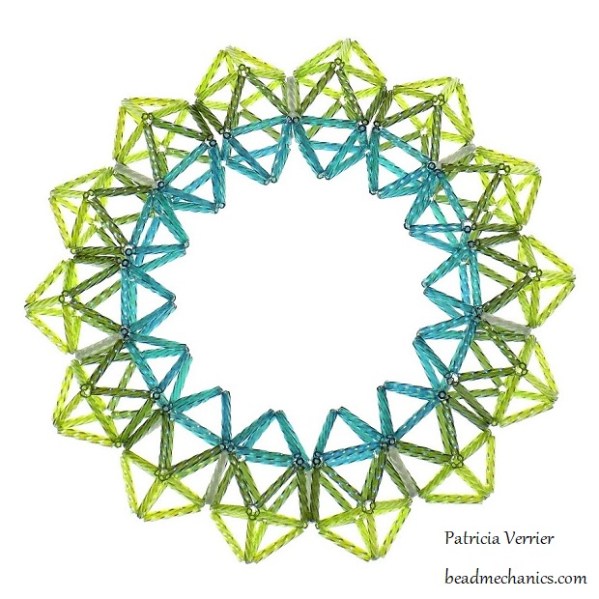
The next is a chamfered dodecahedron. This is similar to a truncated icosahedron but with ten more hexagons:

This one has 120 beads and works really well. It’s a bit bigger than a truncated icosahedron and looks very round, definitely one of my favourites!
The third is a rectified truncated icosahedron. This is basically a truncated icosahedron with triangles added between all the faces:

This one has 180 beads and is less round but is still an interesting shape!
The next is an expanded truncated icosahedron, which is sort of like a truncated icosahedron version of a rhombicosidodecahedron. It has triangle, square, pentagon and hexagon faces:

This has a lot more beads – 360 in total – and is much bigger than the others. It was a struggle to keep it looking reasonably symmetric, but the patterns made up by the combination of pentagons or hexagons surrounded by triangles and squares are really quite pretty.
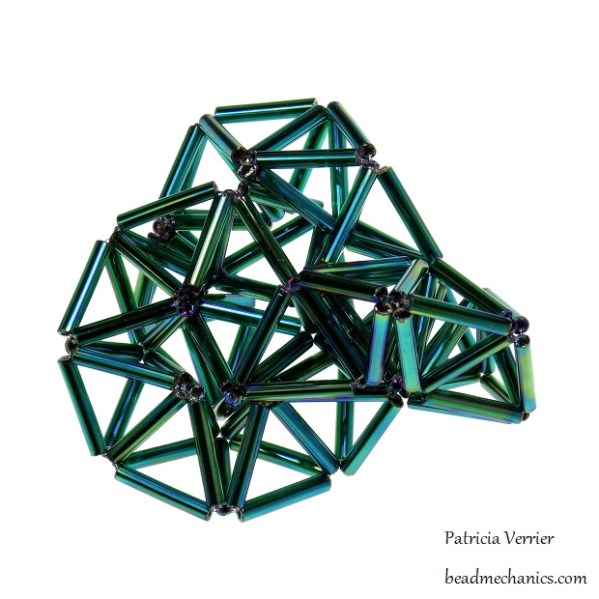
The last one is a snub rectified truncated icosahedron and is like a truncated icosahedron version of a snub dodecahedron. It’s made up from triangles, pentagons and hexagons:

This is larger still at 450 beads and does not work well at all! The faces are just too far away from regular to work with identical beads and it just wasn’t possible to get it to be symmetric. Well, not all experiments work! I’ll definitely be making some of the smaller ones again though!


