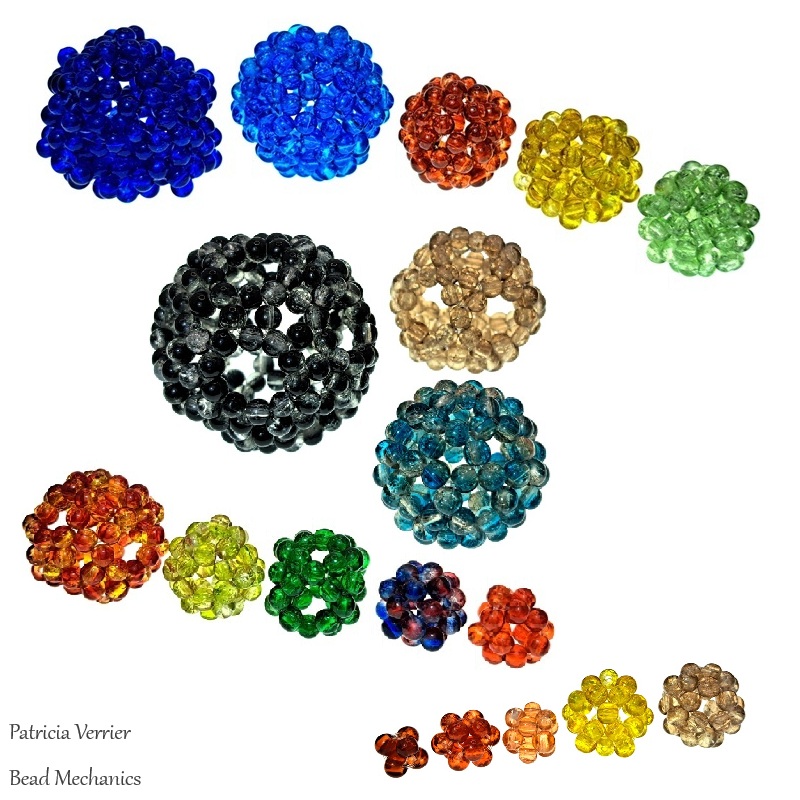
This is the second part of my study of Platonic and Archimedean solids made from polyhedral weave – the Archimedean Solids!

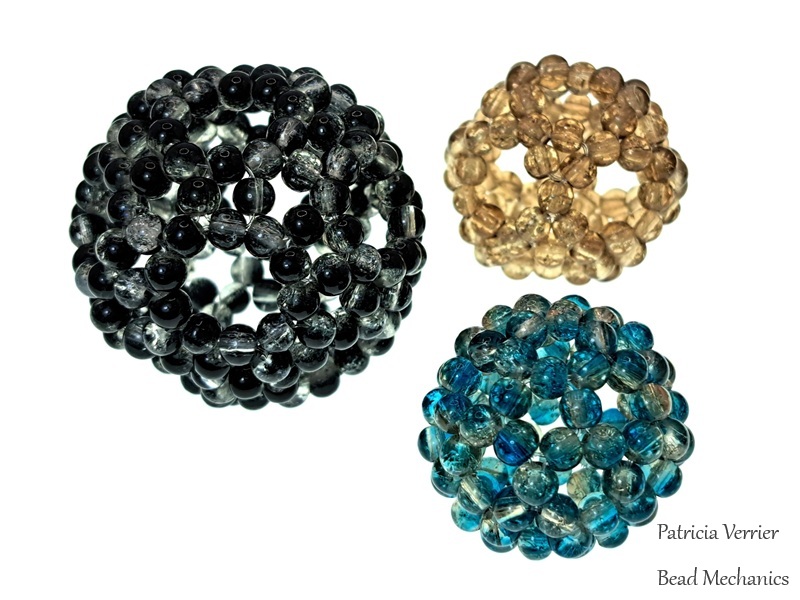
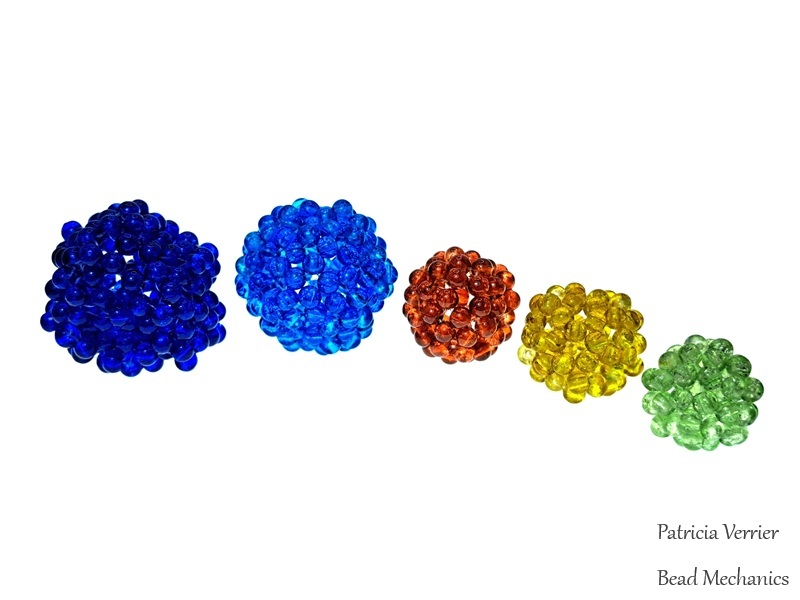
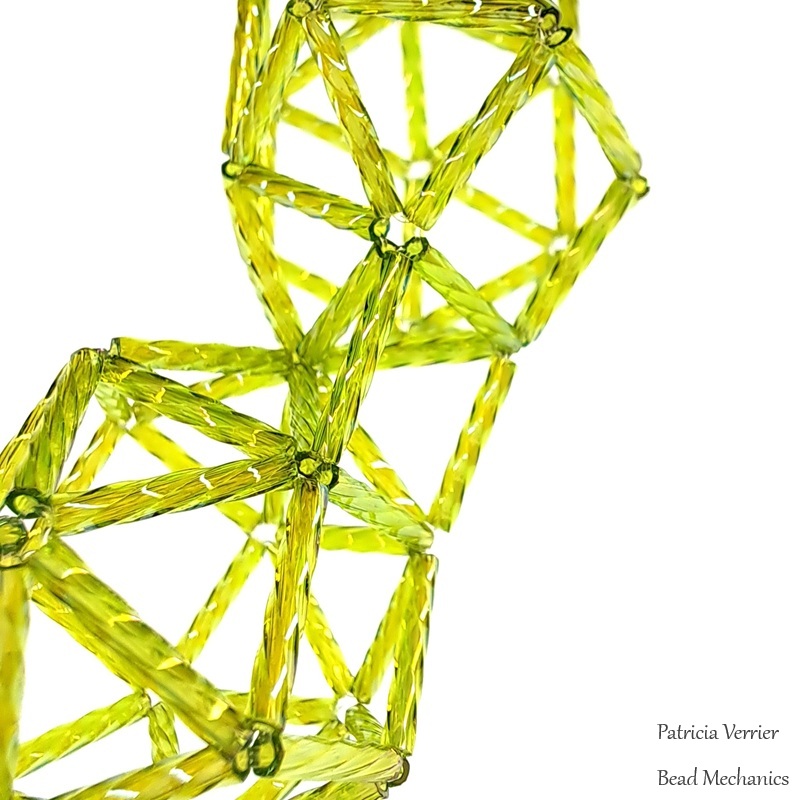
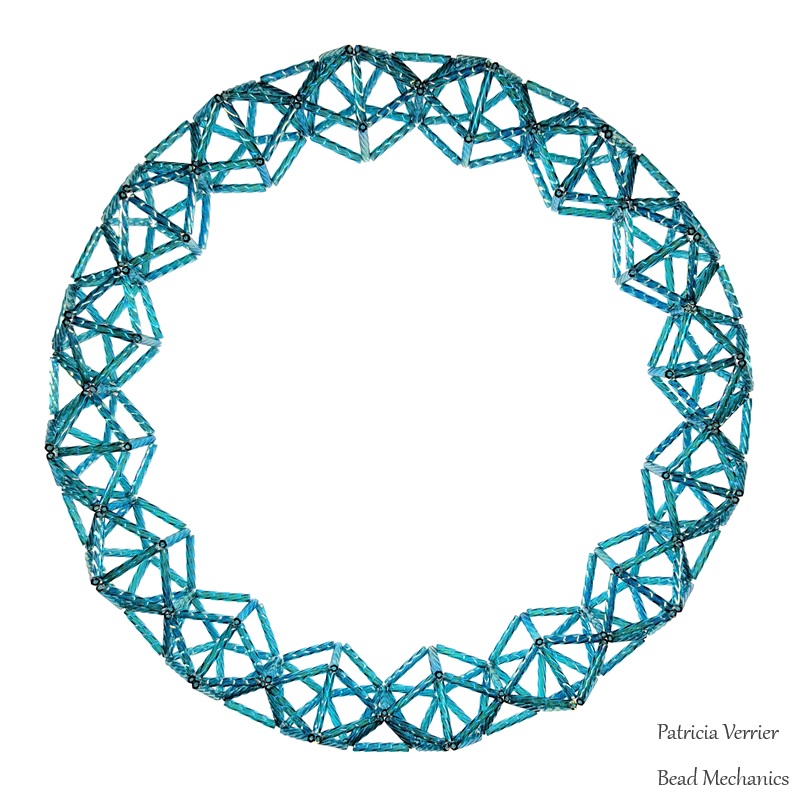
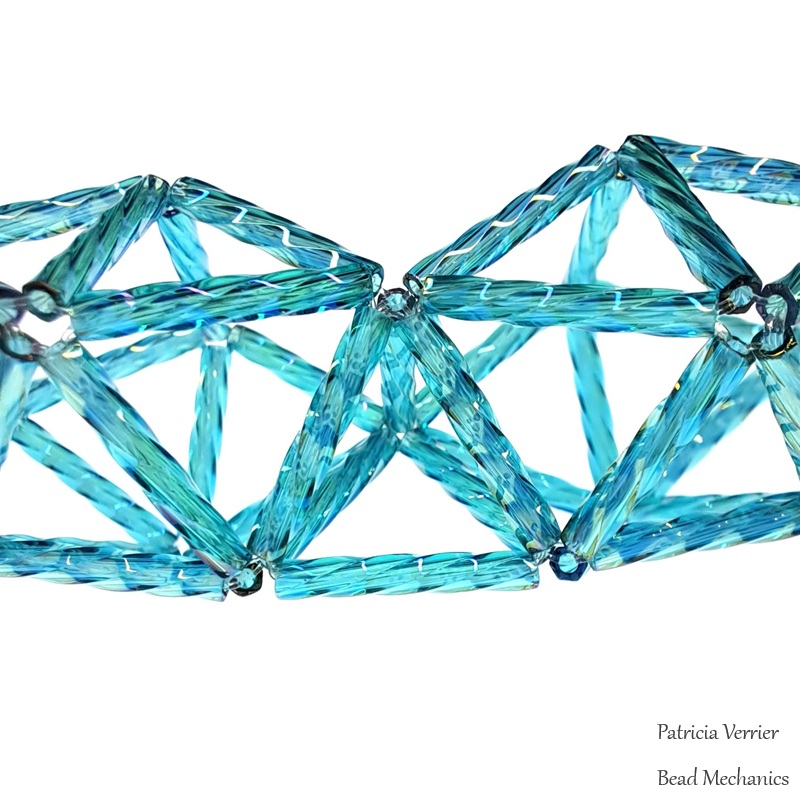
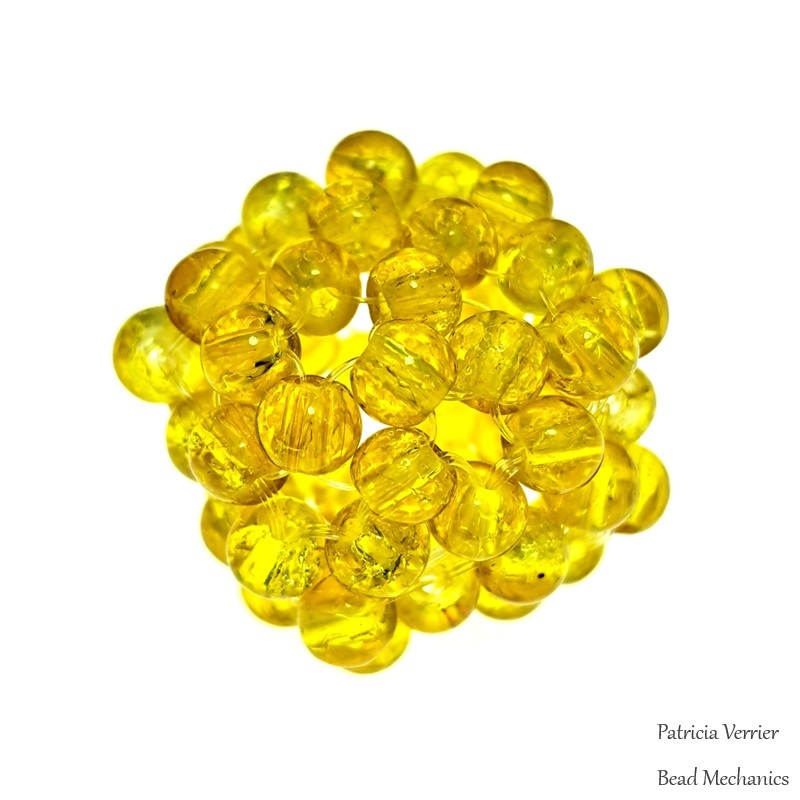
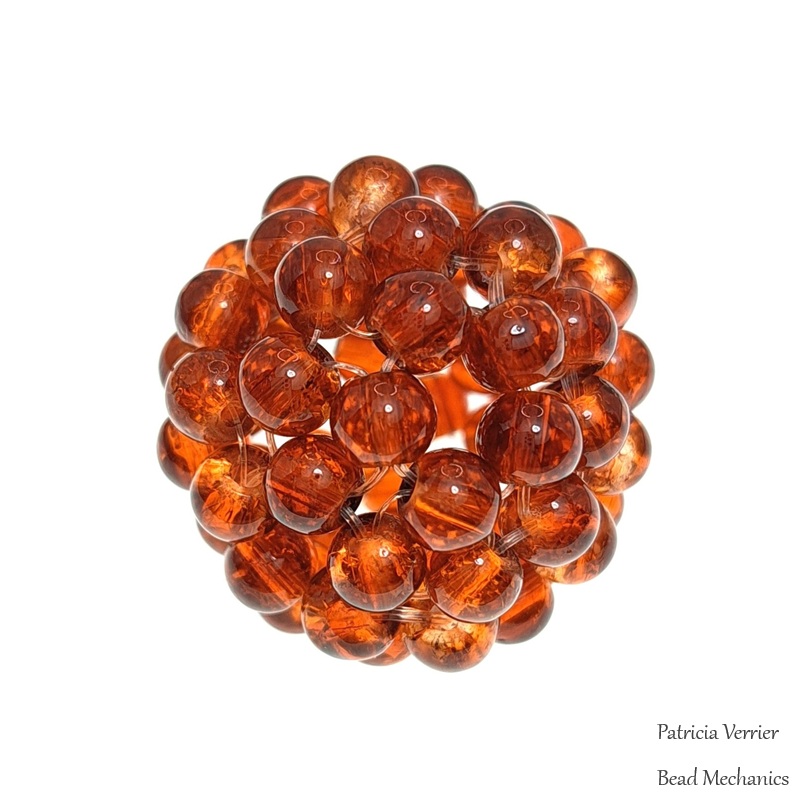
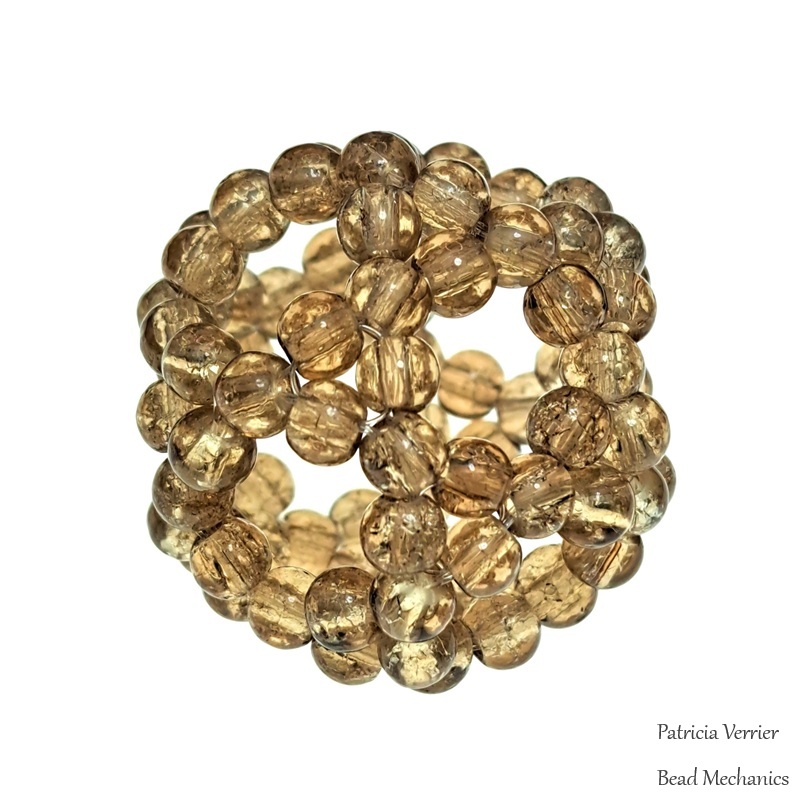
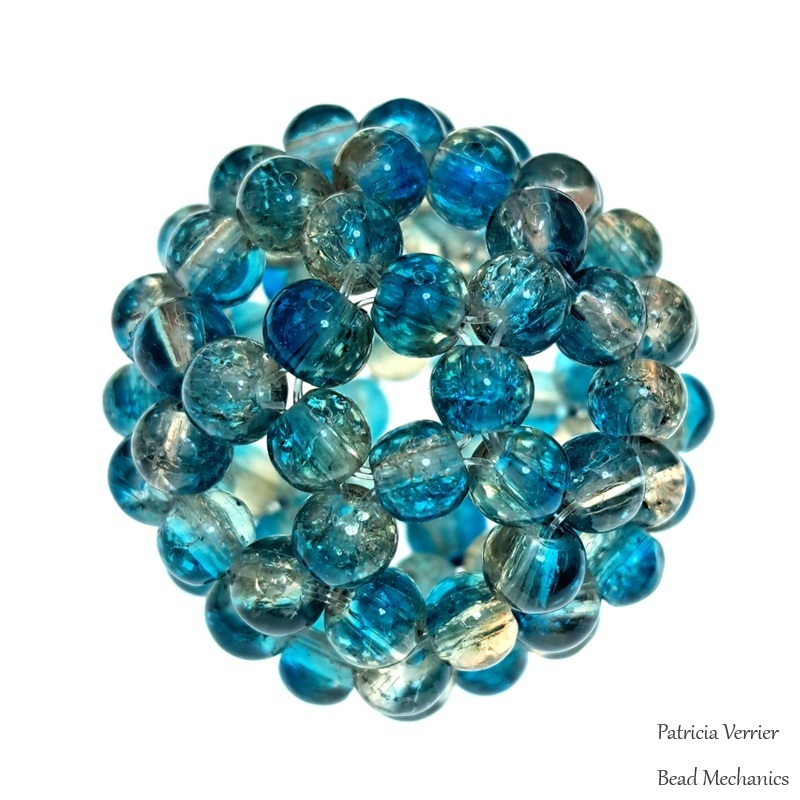
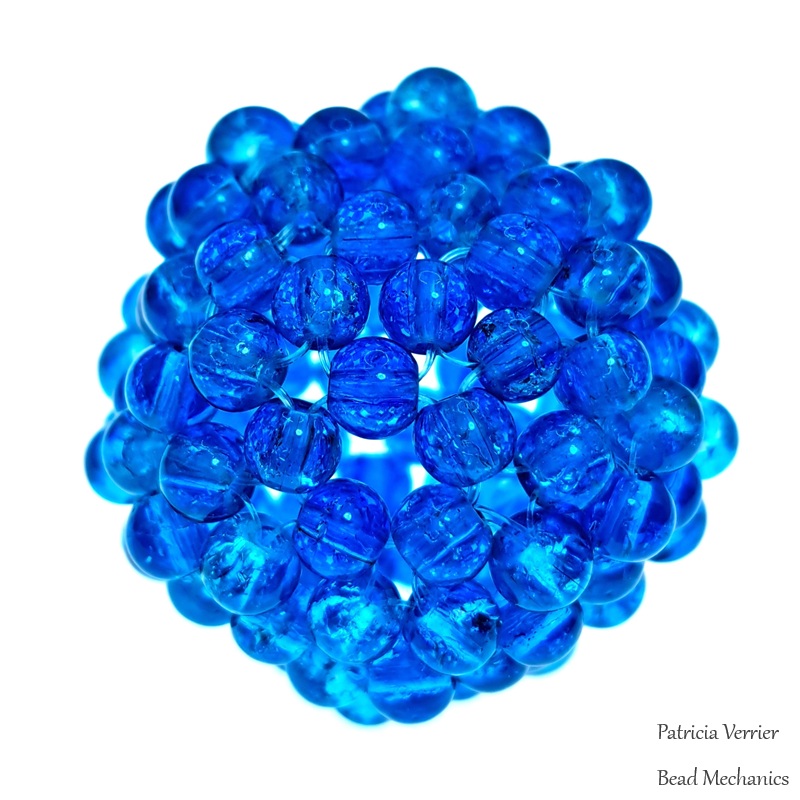
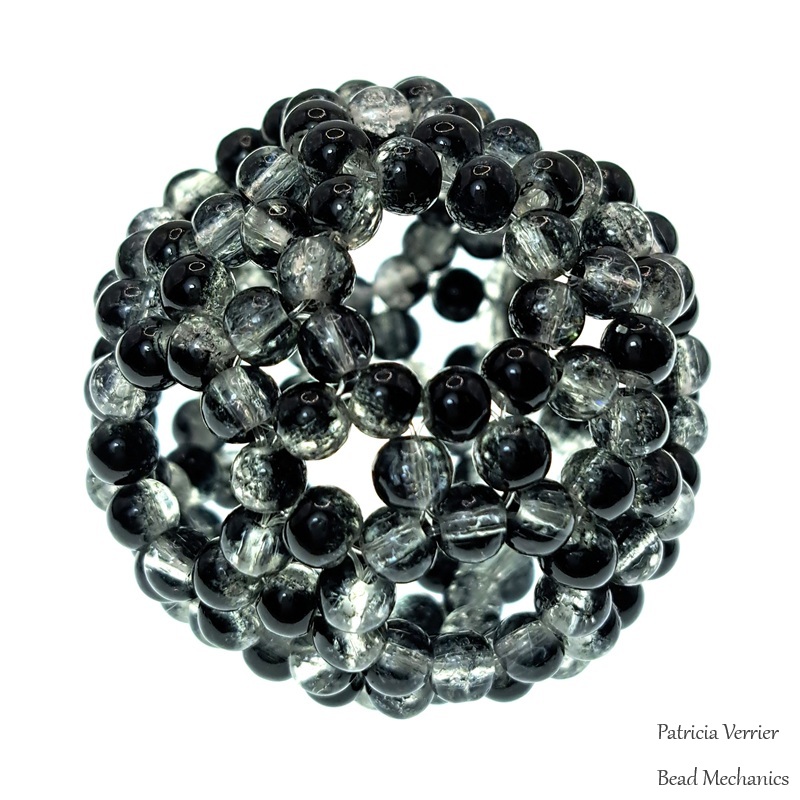
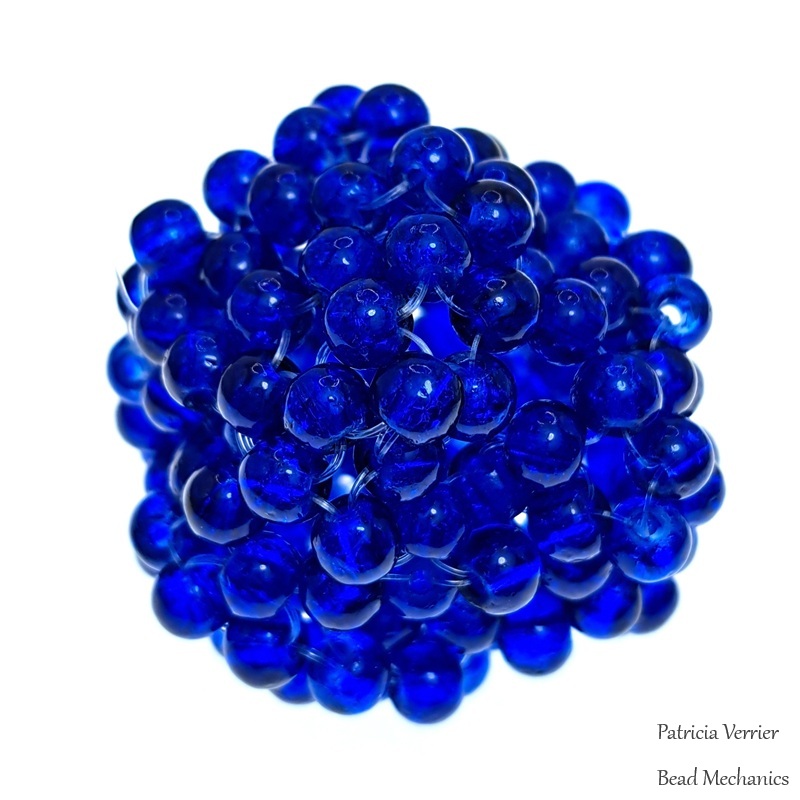
I previously posted the series of the Platonic solids made with 4mm crackle glass beads and 0.25mm nylon monofilament, and have now completed the set with the 13 Archimedean solids. Unlike the first series however, not all of these work well with round beads (specifically, the ones with lots of triangles – those in the third photo above). There’s a closer look at each shape individually below.
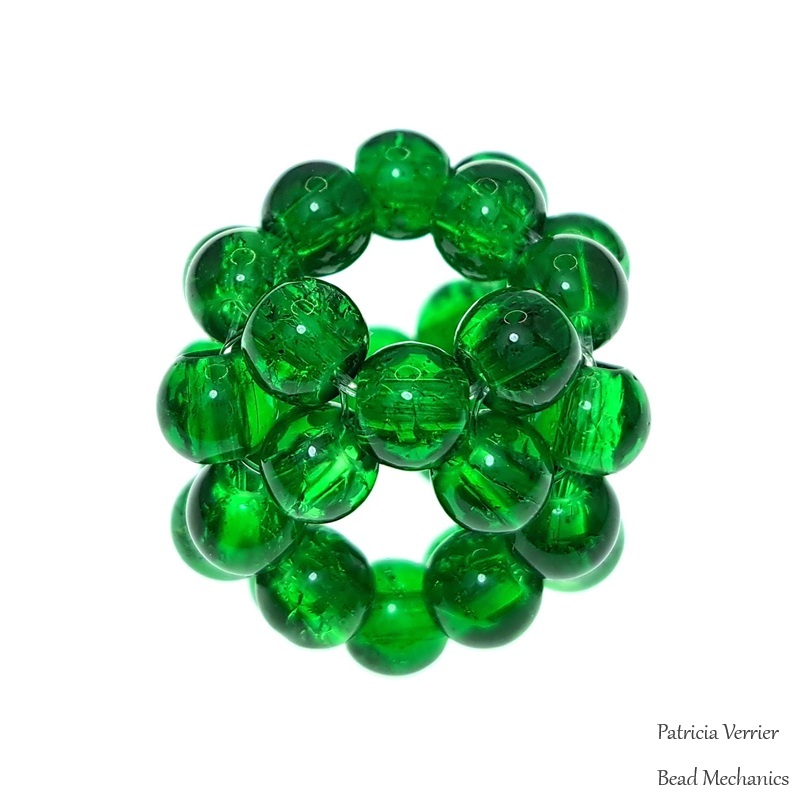
The truncated tetrahedron – which is made up of triangles and hexagons. This one works well, and is a good candidate for a beaded bead (or the basis of a beaded bead).
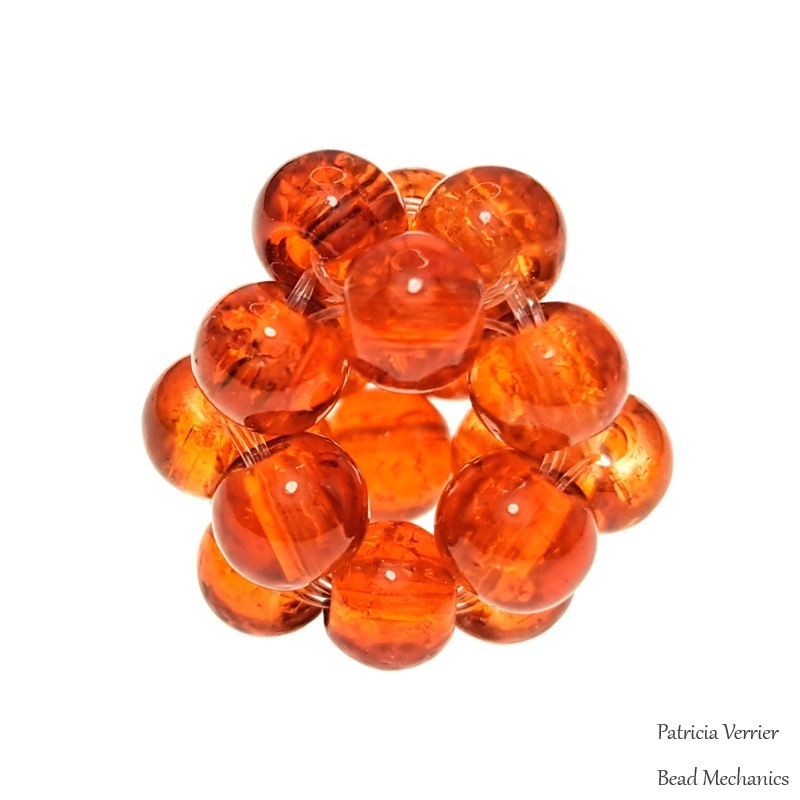
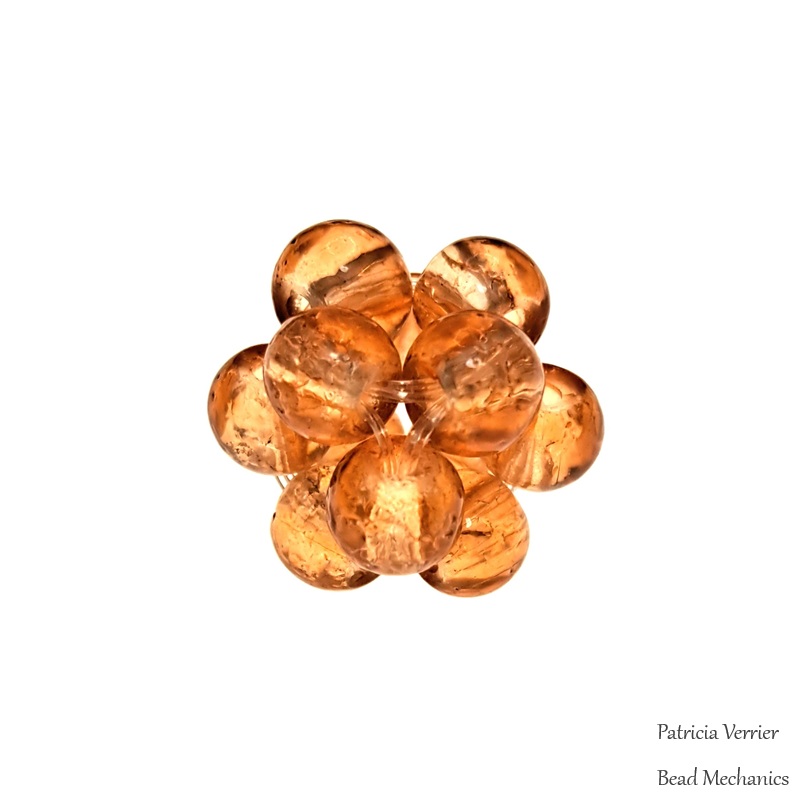
The cuboctahedron – which is made up of triangles and squares. This also works well, despite being quite a small shape, and is another good candidate for a beaded bead.
The truncated cube – which is made up of triangles and octagons. I wasn’t sure how well the shapes with the larger polygon faces would work as sometimes they can be quite unstable when constructed with polygon weave. However, they actually all worked very well!
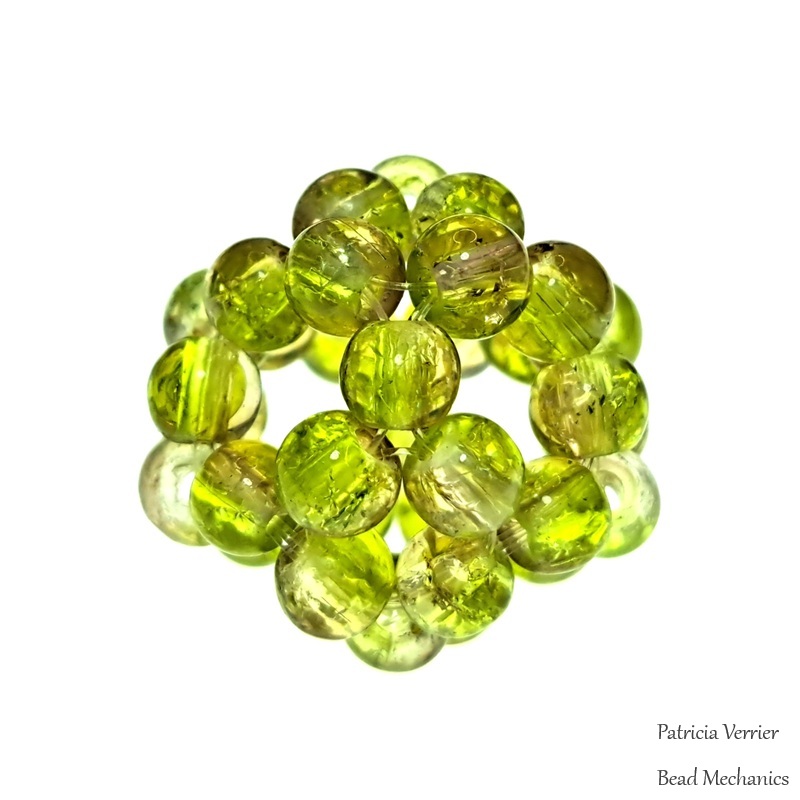
The truncated octahedron – which is made up of squares and hexagons. This also worked really well, although is a bit too large to be a beaded bead.
The rhombicuboctahedron – which is made up of triangles and squares. This one did not work so well, it has slightly too many triangles close enough together that there isn’t enough space when made with round beads, so it’s distorted.
The truncated cuboctahedron – which is made up of squares, hexagons and octagons. This did work well, and could be the basis of a large beaded bead.
The snub cube – which is made up of triangles and squares, and is also one of the chiral Archimedean solids – that is, there is a mirror image of this one as well (although I only made one!). This is another one with a lot of triangles close together and as you can see did also not work well with round beads.
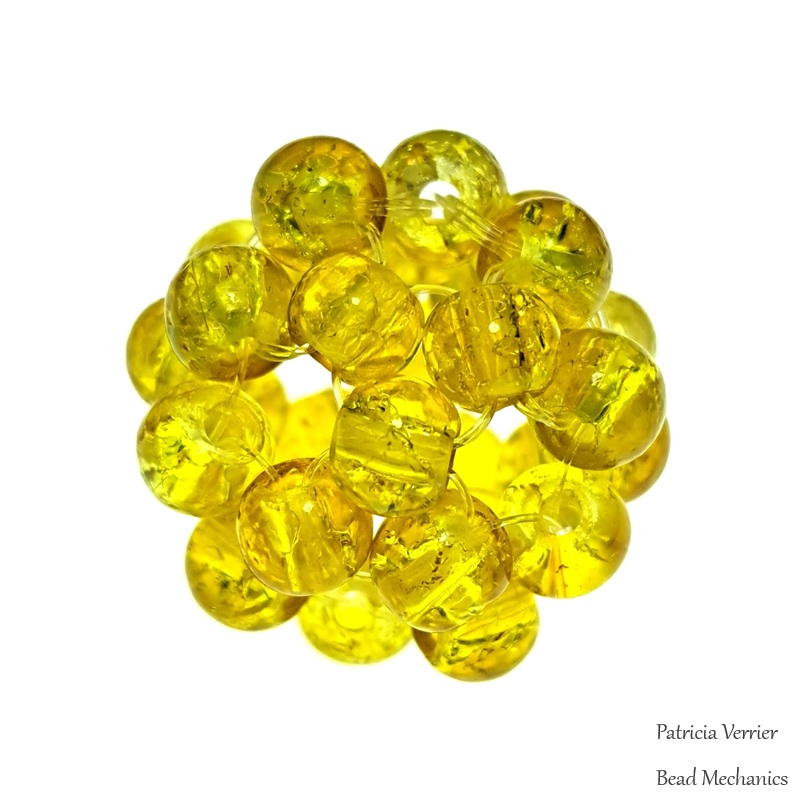
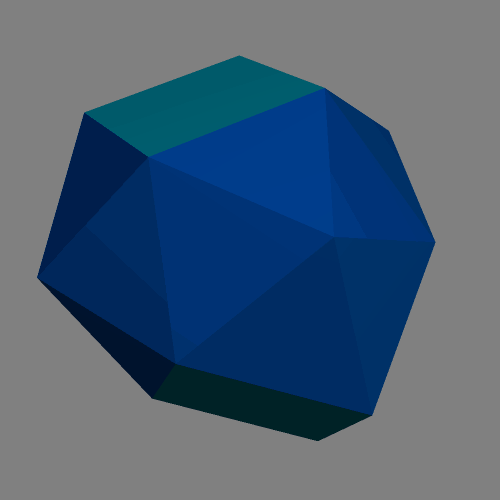
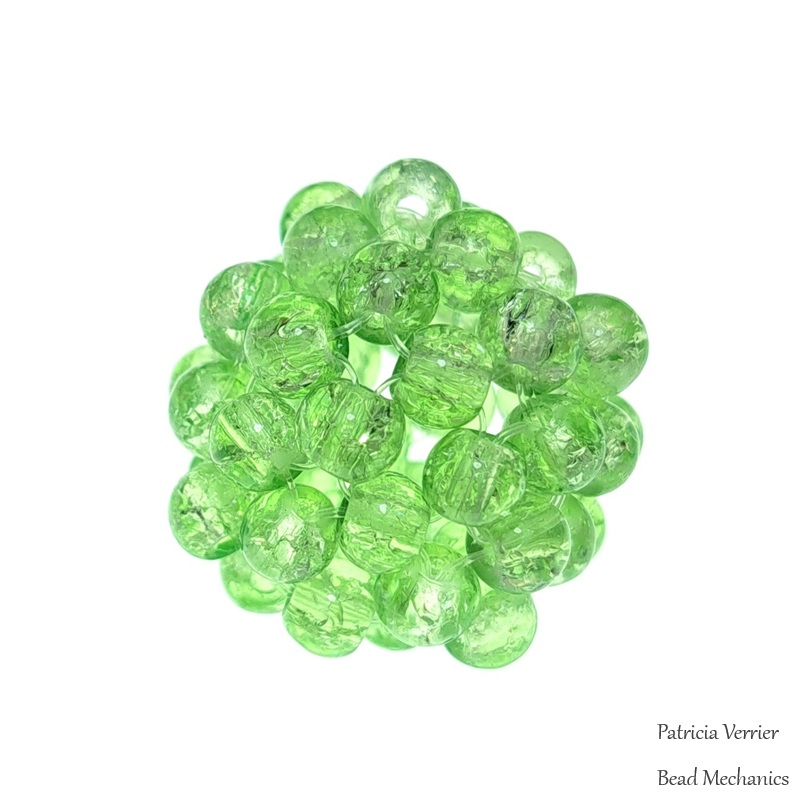
The icosidodecahedron – which is made up of triangles and pentagons. This just about works, despite having a lot of triangles close together as well. It’s also very spherical, so would be a good companion with the dodecahedron from the Platonic series.
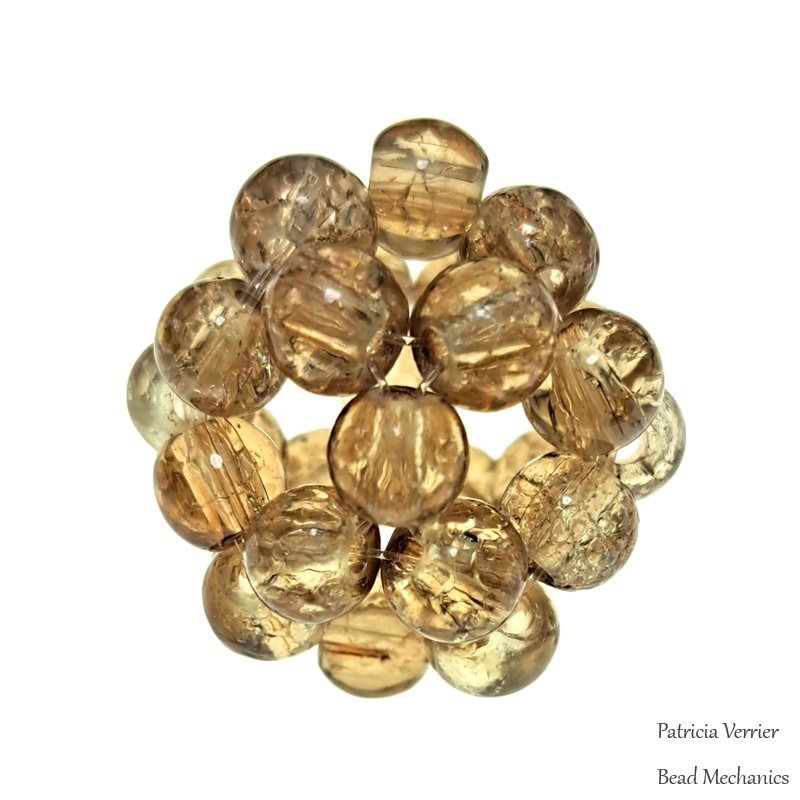
The truncated dodecahedron – which is made of triangles and decagons. This is another one with decagon faces that works surprisingly well!
The truncated icosahedron – which is made from pentagons and hexagons. This is a classic beaded bead that you will have seen many times before!
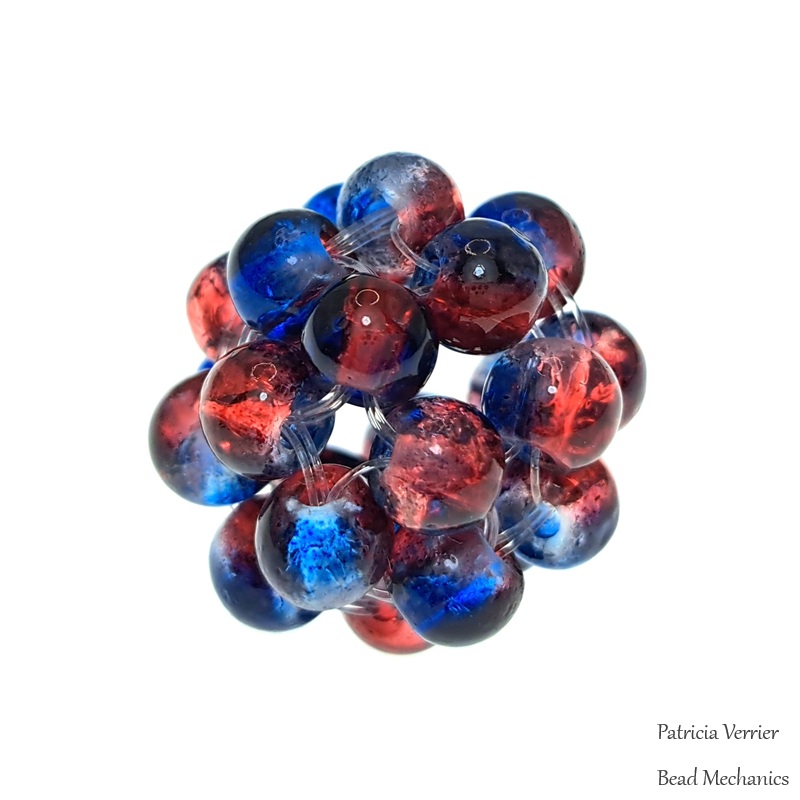
The rhombicosidodecahedron – which is made from triangles, squares and pentagons. I thought this would work better, but unfortunately has too many triangles too close to each other and as a result just doesn’t work with round beads.
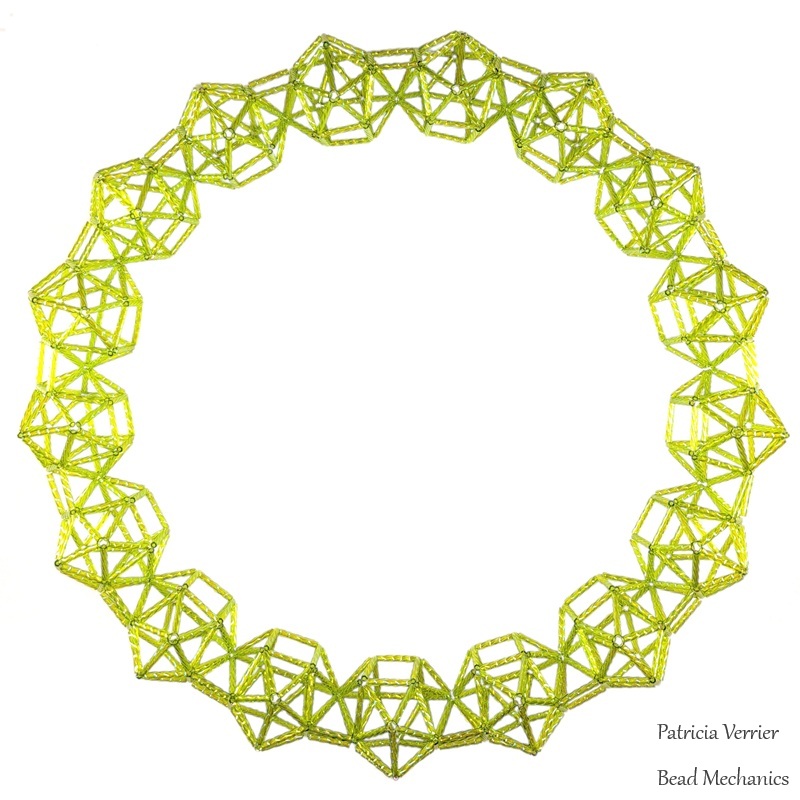
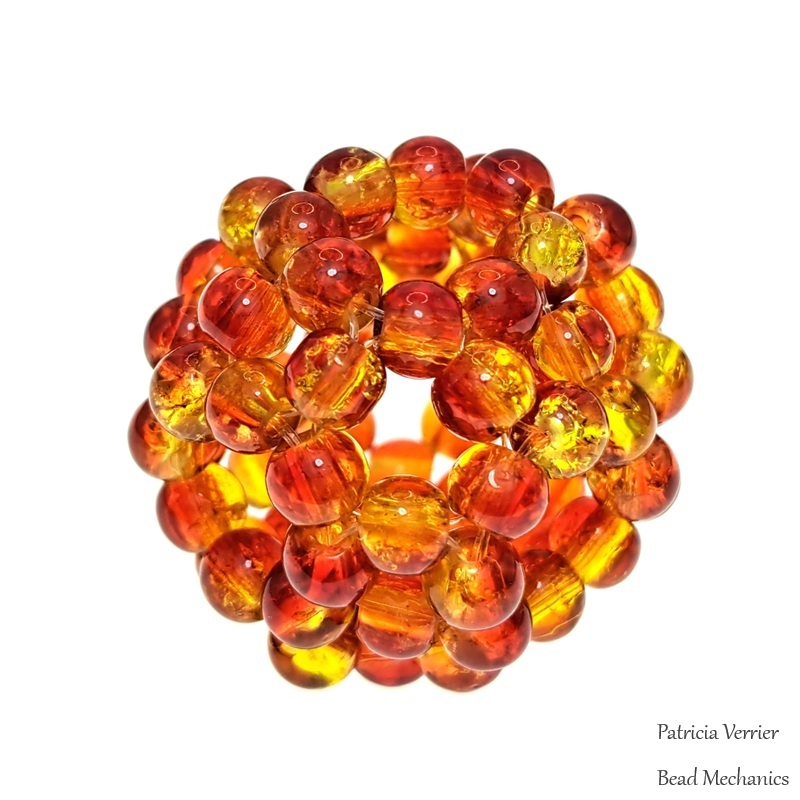
The truncated icosidodecahedron – made from squares, hexagons and decagons. This is the largest one in the series, and was a surprise how well it worked and how stable it is!
The snub dodecahedron – which is made up of triangles and pentagons, and is the other chiral Archimedean solid. This did not work at all! Way too many triangles to work with round beads unfortunately, and there’s no way to get it too look even remotely symmetric.
This brings the study to a close – several of these will be useful in future, and it was interesting to see which of the Archimedean solids worked and which did not. Here’s all of them together!